Showing posts with label orange and black. Show all posts

Wednesday, May 24, 2017

spiderweb, a Halloween shadowbox...

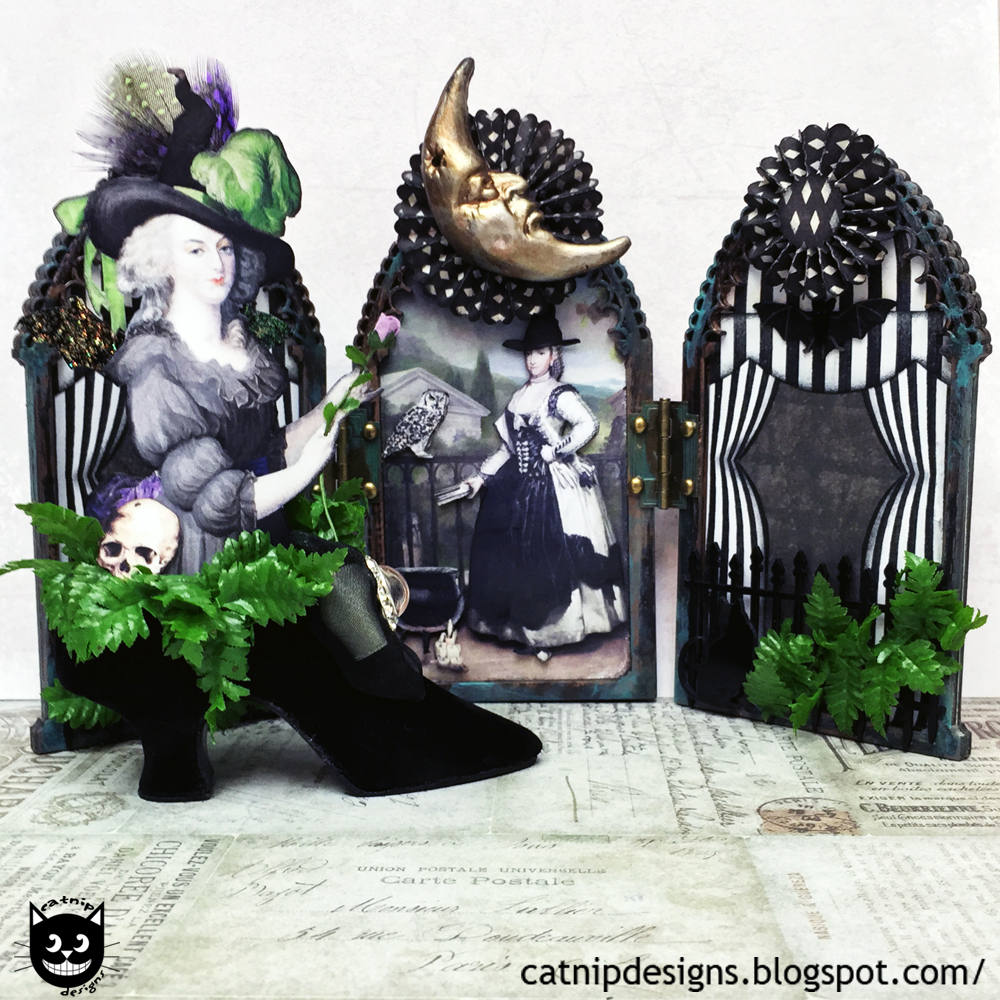
 More Halloween art, today, with a small witchy diorama/shadowbox. Super easy to create using the Small Frame Shadowbox, mostly painting, cutting, pasting and a bit of sewing (to make a felt witches hat). The hat, or one like it, will be an upcoming kit at Alpha Stamps in mid July. So stay tuned to this blog or the Alpha Stamps blog for more information on that.
I am going to show you how to keep the glass in your shadowbox while making it open and close on command ;)
I like to have the glass there to keep the dust out and having the frame front removable, makes it reusable as a display box if you don't permanently glue the displayed pieces into the box.
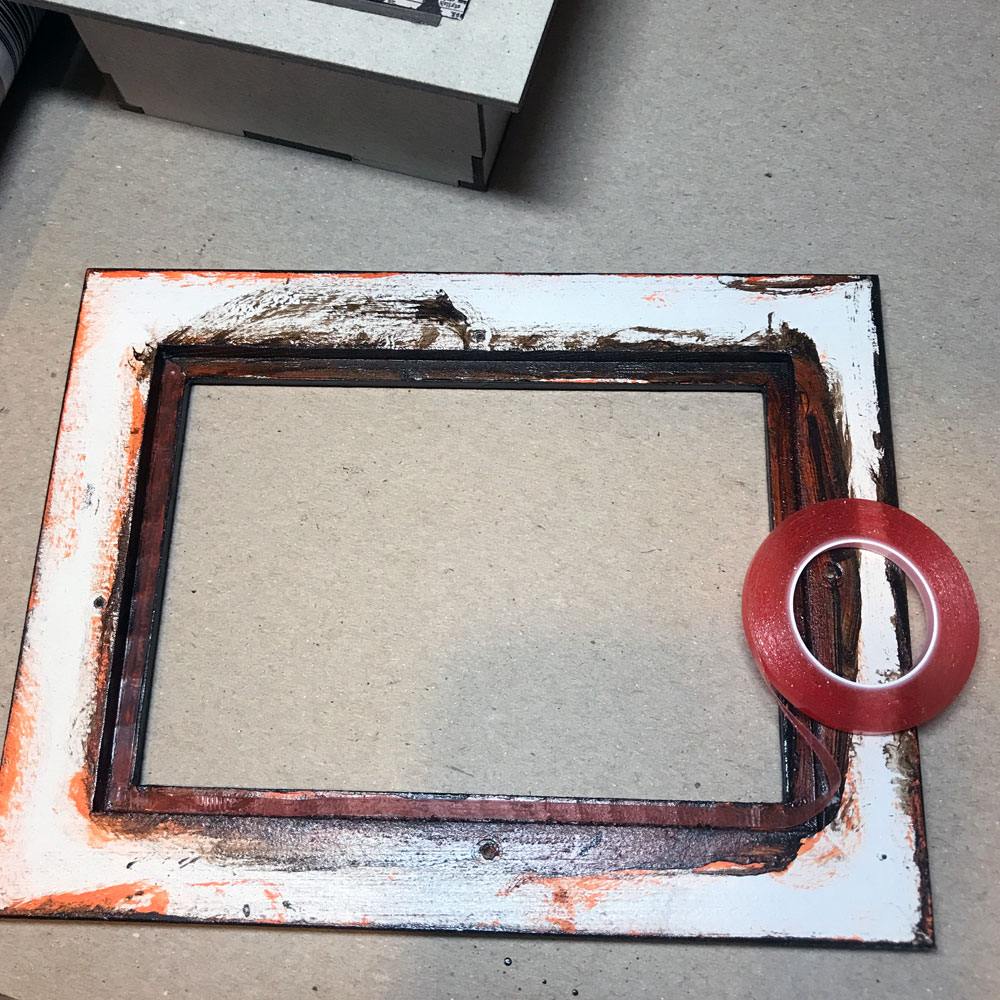
To permanently affix the glass inside the frame, I ran a strip of Super Sticky Red Liner Tape all the way around the inside ledge of the frame (where the glass usually sits). Remove the red backing, clean the glass, then adhere to the red liner tape. Simple and effective!
For a removable frame, I started by lining the frame up so it was where I wanted it to be when finished. Then I flipped it over and marked the corners with a marking pen.
 Making "L" shaped marks around all of the corners (of the shadowbox backing) is important to the placement of the "Velcro" fasteners we will use to make it removable.
 You can use any brand or color of fasteners you have on hand. I used the one below and I got it at Target.
Cut a piece of each "side" of the fasteners about 1.5" long.
 Then cut those pieces into four equal pieces as shown below.
 Apply the four "fuzzy" pieces of fastener to the four corners of the shadowbox. Then apply the four pieces of the "pointy" fastener to the "L" shaped marks we made on the back of the frame.
 Line up the fasteners facing each other and press.
The shadowbox and frame should now be firmly affixed together but with the fasteners it can be gently removed and replaced again and again :)
I hope you enjoyed this quick post and it inspires you to make your own little Halloween shadowbox. If you would like to use any of the items I used, in my shadowbox, you can find my supply list here.

Wednesday, October 7, 2015

they're creepy...

they're kooky...
they're mysteriously spooky...
they're creepy little row houses!
Made with the new Mini Haunted House Chipboard Set and some awesome collage sheets sized just for them. All designed by Laura Carson, for Alpha Stamps. You may know Laura from around the interweb, as she is utterly famous for her yearly Halloween tutorial extravaganzas. This year she did a complete creeptastic village and when it was done she shrunk down some of the parts to create this awesome tiny set. Needless to say, I love it!
I also used the Regions Beyond paper stash by Tim Holtz as it is so perfectly creepy and the color pallet is wonderfully warm and muted.
I'm really proud of my embossed spiderweb as I am usually a complete failure at using rubber stamps. I was super careful this time and the result was just right :)
The rubber stamp is an old one from Inkadinkado. It's been in my stash for a few years now and this is the first occasion I've had to use it. That totally validates my hoarding, errr, um, collecting mentality and makes me happy :D
Thanks for stopping by and reading my ramblings. I hope I see you again and if you'd like to see a list of all the supplies I used on this creepy little project, click here.


Wednesday, September 16, 2015

Marie Antoinette was a witch...

Every year, around this time, I design a collage sheet for Alpha Stamps with vintage portraits, photographs or paintings, altered into witches. This year I've designed two, one of which features a couple of images of my girl Marie A in witchy apparel.
And this one with an assortment of saucy wenches, err... um, witches.
 As soon as the first copies were hot off the laser printer... I started working on an arty little piece to show them off ;)
I bet you didn't know Marie Antoinette was a witch that floated around in an enchanted flying shoe flapping her little glitter encrusted bat wings for all she was worth.
Marie seemed a bit naked by herself, and I wanted to play with an image from my other collage sheet, so I threw together this triptych as a back ground for her.
The whole thing went together in a few hours and was super fun to work on. I really like the eyeball embellishment on the front of Marie's enchanted shoe...
and this saucy lass with her cauldron and owl...
If you'd like to peruse my supply list, click here.
Thanks for stopping by and reading my blog. I hope you've been creating lots of wonderful Halloween art or enjoying the approach of Autumn in your own favorite way :)


Saturday, October 11, 2014

My creepy relatives...

Aren't they just fabulous, these creepy cousins of mine?

There's Phaedra who's a bit of a clothes horse... just look at her hat and fur. She wouldn't be caught dead without them.
Cousin Theo is such a lady killer... even with his gold front tooth.
And who could forget Bubo, the brain of the bunch.
If you are looking to frame a few of your own creepy relatives, head on over to Alpha Stamps to view the complete list of supplies I used to whip these cuties up.


Saturday, September 27, 2014

Edgar Allan Poe and a witchy room scene...

We recently got some spooky new craft supplies in at Alpha Stamps and I volunteered (and by volunteered I mean I threw myself on the box and begged) to create some Halloween sample art with them.

Up first is a gravestone triptych honoring Edgar Allan Poe and his, maybe, mistress Frances Sargent Osgood. I used the new and fabulous Paper Mache Tombstones Set as a base for my triptych and covered it with paper from Carta Bella's Spooky Collection. I love Carta Bella paper, it's just the right weight and their designs are always fresh and colorful.
I added the niche to the middle gravestone using the same basic technique I used to add the shelves to the Step Into My Parlour triptych. The little books are the same ones I show you how to make in my Tiny Little Book Tutorial. Most of the other supplies I used are available at Alpha Stamps and you can find a handy dandy list of them here.
Next up is a "room box" that is not actually in a box at all...
This was super easy to make. I simply covered a Large Wooden Theatre Base and some wooden cube blocks with paper (again using the Carta Bella Spooky Collection). Then I spray painted a new Miniature Garden Bench black. Hand stitched some cushions for the bench. Then glued everything together with hot glue. The skeleton and the "Spirited" bat sign on the front are wonderful dimensional stickers made by Jolee’s Boutique (another of my favorite companies!) I love to incorporate dimensional stickers into my art projects. Sometimes I take them apart to just use the pieces or like I did here (with the skeleton) use them in a way that's a bit "outside the box".
If you'd like to create your own skeleton room box or just really need some of the awesome arty bits I used... you can find the product links right here.