Showing posts with label witch. Show all posts

Saturday, September 2, 2017

Only 58 days until Halloween!

We are getting really close to Halloween so it seemed like the perfect time to roll out a Halloween themed monthly kit at Alpha Stamps. I had the honor of designing the collage sheets for the kit and it was so much fun... I made an extra one (not in the kit). It is called Little Demons and has lots of sweet demons to add to your Halloween crafting. (Just imagine making a cute banner or wreath with these cuties!)
I made a couple of ATCs with the kit components and some of the new things hitting the website today...
The card above uses the awesome Bat Border ATC Card that comes in the kit along with collage sheets, paper, ribbon and tiny buttons, oh my!
 I used the new Dragon Arch ATC Card for this one, and I really love how it looks :)
Both ATC cards were designed by Leslie, Alpha Stamps owner extraordinaire!

If you'd like to see a list of all the goodies I used on my ATCs, click here

But, WAIT!!!

There's a rumor going around that Alpha Stamps is having a Halloween SWAP!!!

I'm not sure of the details, myself, but, I bet you could find out by going here.


Saturday, July 1, 2017

pocket grimoire...

Happy July! A new month means a new monthly kit at Alpha Stamps, YAY! The July kit is called Matchbox Cabinet Kit and it comes with an adorable Matchbox Cabinet. Using the kit, as it comes, you can create a cute little kitchen cabinet with all kinds of vintage grocery items. Now I've been in super Halloween creating mode so I didn't really wanna make a kitchen cabinet BUT... the matchbox cabinet, in the kit, has some witchy potential sooo... I made a couple of collage sheets to turn that cutie into a pocket grimoire...
 So small it could fit in a pocket, but open it up and it's BIG on witchy goodness!
 So much witchy goodness, it couldn't be contained and I just had to decorate the top...
and add a cauldron of bloody bones to keep on the side.
If you're wondering how I assembled my cabinet, here's a quick peek:
 I used a piece of design tape to make a little handle on the cabinet door.
 I covered the inside of the cabinet door with paper.
 I used masking tape to attach the cabinet door to the cabinet. I had already assembled the cabinet and painted it with black gesso. After I applied the masking tape I inked the cabinet door edge.
 I applied design tape to the inside of the cabinet door to cover the sticky masking tape and to make it look pretty :)
 Then I cut out one of the cover images from the new "A witch's Grimoire" collage sheet and glued it onto the cabinet door...
 If you look closely at the above photo, you will see that the cover image is slightly larger than the cabinet door. This is so that the cover image covers the cabinet edges when the door is closed.
Once the door was attached I applied paper to the rest of the outside of the cabinet and decorated the side with a strip of design tape and an image from the collage sheet.
All of the papers, scrolls, labels and books were created using just the two new collage sheets: Tiny Little Grimoires and A Witch's Grimoire. (To assemble the books please see this tutorial.)
By the way, I always use Super Sticky Red Liner Tape - 1/8 Inch to attach the tiny labels to the bottles. It's so much easier to use than glue and keeps the labels attached better too :)
Thanks for stopping by and reading to the end! I hope you will consider making you own pocket grimoire. To help you on your way, here's what I used...

Supplies Used

Wednesday, May 24, 2017

spiderweb, a Halloween shadowbox...

 More Halloween art, today, with a small witchy diorama/shadowbox. Super easy to create using the Small Frame Shadowbox, mostly painting, cutting, pasting and a bit of sewing (to make a felt witches hat). The hat, or one like it, will be an upcoming kit at Alpha Stamps in mid July. So stay tuned to this blog or the Alpha Stamps blog for more information on that.
I am going to show you how to keep the glass in your shadowbox while making it open and close on command ;)
I like to have the glass there to keep the dust out and having the frame front removable, makes it reusable as a display box if you don't permanently glue the displayed pieces into the box.
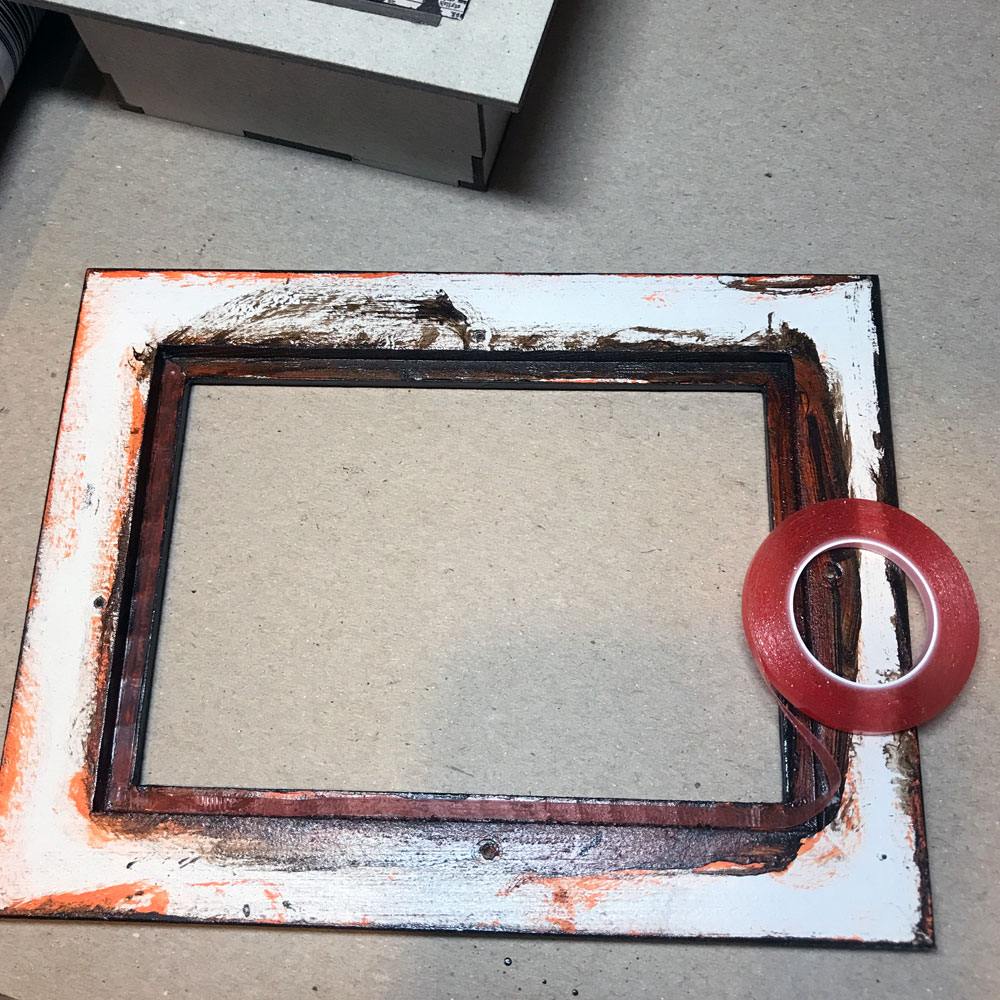
To permanently affix the glass inside the frame, I ran a strip of Super Sticky Red Liner Tape all the way around the inside ledge of the frame (where the glass usually sits). Remove the red backing, clean the glass, then adhere to the red liner tape. Simple and effective!
For a removable frame, I started by lining the frame up so it was where I wanted it to be when finished. Then I flipped it over and marked the corners with a marking pen.
 Making "L" shaped marks around all of the corners (of the shadowbox backing) is important to the placement of the "Velcro" fasteners we will use to make it removable.
 You can use any brand or color of fasteners you have on hand. I used the one below and I got it at Target.
Cut a piece of each "side" of the fasteners about 1.5" long.
 Then cut those pieces into four equal pieces as shown below.
 Apply the four "fuzzy" pieces of fastener to the four corners of the shadowbox. Then apply the four pieces of the "pointy" fastener to the "L" shaped marks we made on the back of the frame.
 Line up the fasteners facing each other and press.
The shadowbox and frame should now be firmly affixed together but with the fasteners it can be gently removed and replaced again and again :)
I hope you enjoyed this quick post and it inspires you to make your own little Halloween shadowbox. If you would like to use any of the items I used, in my shadowbox, you can find my supply list here.

Saturday, July 23, 2016

Rose Ella's reading room or a Witch's Grimoire...

Rose Ella is a witch with an addiction to reading. She likes nothing better than to curl up in her favorite chair with a good book and a cup of pumpkin spice latte (a girl after my own heart)...
I created Rose Ella's reading room inside a new Large Faux Book Box. The cover is meant to look like a grimoire (witch's spell book)...
Then you open it up and the fun begins!
 I used a miniature book I made (using the Spell Book Box Covers Collage Sheet) to prop up the front right corner of the book box because the chair I used is resin (and kinda heavy). This way it can be displayed open on a shelf without tipping forward.

My favorite part of this whole scene is the book case. I love how it looks...
It started out as an unfinished Corner Bookcase with 3 Shelves. I added Dresden trim to the book case like this...
It doesn't matter what color of Dresden you use as you are going to paint over it with Gesso once it dries. Then I attached some Tiny Resin Skulls like so...
You can see the frame I used (and a shelf for an up coming project in the pic too). Once the skulls dried I added a second coat of Gesso to everything then painted it all with black acrylic paint. A dry brushing with transparent white acrylic paint gave it an aged appearance.
Speaking of aged... isn't that little stone gargoyle adorable!? I loved him so much I bought extra to share with you, now available in my etsy shop.
I hope you have enjoyed this look inside Rose Ella's reading room... If you'd like to make your own witchy reading room, or other fun miniature scene, you can find my supply list here.
 
Stay tuned for more spooky and witchy projects as I gear up for Halloween :D

Wednesday, October 7, 2015

they're creepy...

they're kooky...
they're mysteriously spooky...
they're creepy little row houses!
Made with the new Mini Haunted House Chipboard Set and some awesome collage sheets sized just for them. All designed by Laura Carson, for Alpha Stamps. You may know Laura from around the interweb, as she is utterly famous for her yearly Halloween tutorial extravaganzas. This year she did a complete creeptastic village and when it was done she shrunk down some of the parts to create this awesome tiny set. Needless to say, I love it!
I also used the Regions Beyond paper stash by Tim Holtz as it is so perfectly creepy and the color pallet is wonderfully warm and muted.
I'm really proud of my embossed spiderweb as I am usually a complete failure at using rubber stamps. I was super careful this time and the result was just right :)
The rubber stamp is an old one from Inkadinkado. It's been in my stash for a few years now and this is the first occasion I've had to use it. That totally validates my hoarding, errr, um, collecting mentality and makes me happy :D
Thanks for stopping by and reading my ramblings. I hope I see you again and if you'd like to see a list of all the supplies I used on this creepy little project, click here.


Wednesday, September 16, 2015

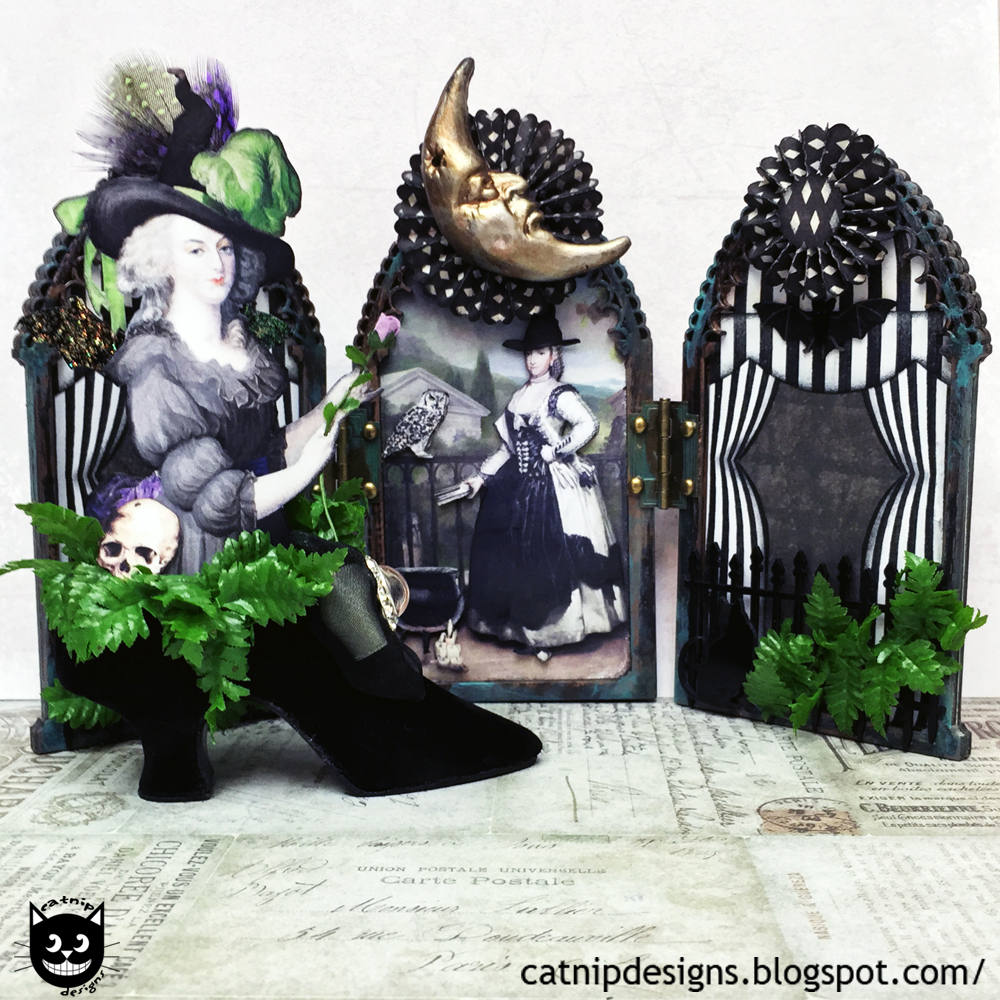
Marie Antoinette was a witch...

Every year, around this time, I design a collage sheet for Alpha Stamps with vintage portraits, photographs or paintings, altered into witches. This year I've designed two, one of which features a couple of images of my girl Marie A in witchy apparel.
And this one with an assortment of saucy wenches, err... um, witches.
 As soon as the first copies were hot off the laser printer... I started working on an arty little piece to show them off ;)
I bet you didn't know Marie Antoinette was a witch that floated around in an enchanted flying shoe flapping her little glitter encrusted bat wings for all she was worth.
Marie seemed a bit naked by herself, and I wanted to play with an image from my other collage sheet, so I threw together this triptych as a back ground for her.
The whole thing went together in a few hours and was super fun to work on. I really like the eyeball embellishment on the front of Marie's enchanted shoe...
and this saucy lass with her cauldron and owl...
If you'd like to peruse my supply list, click here.
Thanks for stopping by and reading my blog. I hope you've been creating lots of wonderful Halloween art or enjoying the approach of Autumn in your own favorite way :)


Saturday, July 4, 2015

A Witch's Book of Spells with a Secret...

Just an unassuming little spell book sitting on  a shelf.


It's a bit worn and looks well loved...


Hey! The spine is loose! Oh! There's something inside...


This is my latest creation and it was made using a new kit I designed for Alpha Stamps. The kit comes with die-cut chipboard parts and collage sheets to assemble the book box, plus potion labels, ephemera, miniature book covers and boxes, a wooden look drawer... you really need to go take a look. But, come right back as I've created a snapguide with all the instructions and tips you need to get the kit assembled, too.

If you're curious about the bottles or paper or embellishment I've used to decorate my book box, here's the supply list. Not sure how to assemble miniature books? Here's my tutorial.

Thanks for stopping by... I hope you enjoyed this post and it inspired you to create something.