More Halloween art, today, with a small witchy diorama/shadowbox. Super easy to create using the Small Frame Shadowbox, mostly painting, cutting, pasting and a bit of sewing (to make a felt witches hat). The hat, or one like it, will be an upcoming kit at Alpha Stamps in mid July. So stay tuned to this blog or the Alpha Stamps blog for more information on that.
I am going to show you how to keep the glass in your shadowbox while making it open and close on command ;)
I like to have the glass there to keep the dust out and having the frame front removable, makes it reusable as a display box if you don't permanently glue the displayed pieces into the box.
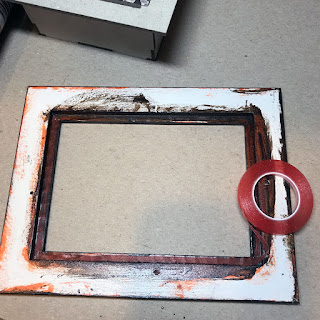
To permanently affix the glass inside the frame, I ran a strip of Super Sticky Red Liner Tape all the way around the inside ledge of the frame (where the glass usually sits). Remove the red backing, clean the glass, then adhere to the red liner tape. Simple and effective!
For a removable frame, I started by lining the frame up so it was where I wanted it to be when finished. Then I flipped it over and marked the corners with a marking pen.
Making "L" shaped marks around all of the corners (of the shadowbox backing) is important to the placement of the "Velcro" fasteners we will use to make it removable.
You can use any brand or color of fasteners you have on hand. I used the one below and I got it at Target.
Cut a piece of each "side" of the fasteners about 1.5" long.
Then cut those pieces into four equal pieces as shown below.
Apply the four "fuzzy" pieces of fastener to the four corners of the shadowbox. Then apply the four pieces of the "pointy" fastener to the "L" shaped marks we made on the back of the frame.
Line up the fasteners facing each other and press.
The shadowbox and frame should now be firmly affixed together but with the fasteners it can be gently removed and replaced again and again :)
I hope you enjoyed this quick post and it inspires you to make your own little Halloween shadowbox. If you would like to use any of the items I used, in my shadowbox, you can find my supply list here.


No comments:
Post a Comment