I've been collecting miniatures since I was a child. Way back then the miniatures were all different scales and mostly cheap things bought at the local five and dime store. I still have a bunch of those old miniatures in my collection and now they are considered kitschy vintage, lol. About ten years ago I started going to miniature shows (such as the Good Sam Showcase of Miniatures) and my collecting turned to artist made miniatures and higher end commercially made miniatures.
Miniatures are perfect for collecting because they don't take up much space to keep and display... until your collection out grows your space and you can't display everything. This is a huge problem because I want to see and enjoy my collection daily, not just store them in a box. So in my search for a better way to use my allotted display space I came upon a labor intensive, hand crafted, four room display box attached to a turn table (lazy Susan). I thought the idea was brilliant and rushed off to beg Leslie to have a kit made to sell through Alpha Stamps. And that is how the 4 Season Spinner was born. Of course my name was vetoed in favor of calling it the Rotating 4 Scene Room Box but no biggie, as I still got to make the first one for myself.

Isn't it fabulous!? Four whole rooms to decorate!

I decided to do the four seasons as a theme for this first one. (Yes, I will be making more because it is super easy to construct and I was able to display sooooo much stuff!) The first two rooms I decorated are Spring and Summer. It took so long to do the decorating on these rooms that you will not get to see Fall and Winter until next month when I finish them. Anyway, here's Spring in all her Easter bunny glory...

I love the Easter Bunny wall paper, so Springy! I must admit most of the smaller stuff in this room is from my collection and is either vintage, handmade, artist made or no longer made. But there is a supply list of the available items, here. Remember, decorating a room like this gives you an excuse to start collecting or to start displaying your collection.

Let's take a look at beautiful, dreamy Summer...

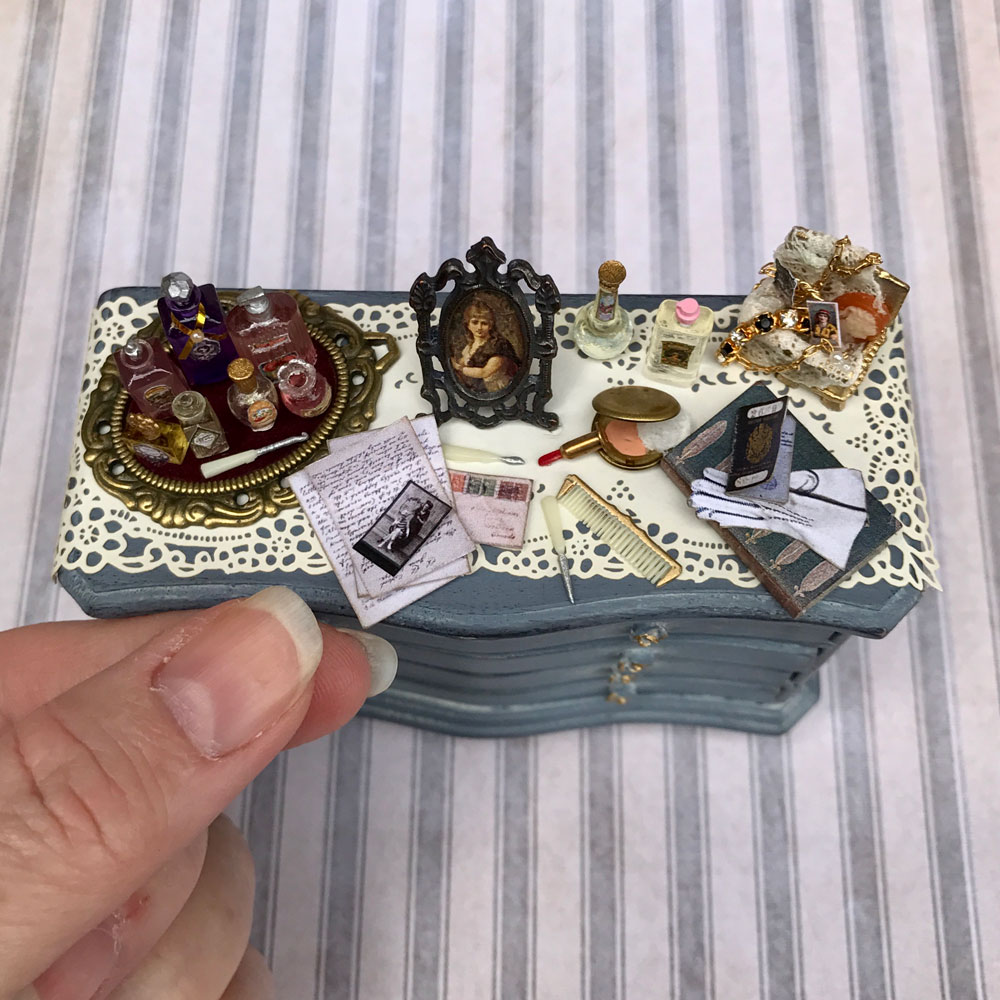
I decided to do a Victorian style boudoir to represent Summer because I had tons of stuff to use. You may remember the dresser from a previous post. I love the way the dresser turned out so decided to keep it. I did use a bunch of stuff in this room that is actually available, YAY!. Here's the supply list. (Also, the shoes are made by Sylvia Roundtree, (The Doll's Cobbler) and are amazing. But the chair is vintage and was snatched up by me on eBay.)

By the way, I didn't use permanent glue to attach my stuff to the room this time since I was keeping this for myself and I may want to change things up at some point in the future. I used Bluestik Reusable Adhesive Putty instead of glue. It's cheap and works amazingly well.

Wow! Thanks for staying to the end :) I hope you are inspired to make your own 4 Season Spinner or maybe it will be four of your favorite time periods (18th Century would be fab!) or four rooms inspired by your children or pets, or four fairy tale inspired rooms. The sky's the limit!