Showing posts with label broom. Show all posts

Wednesday, September 27, 2017

a couple of handmade Halloween decorations...

This week I whipped up a couple of cute Halloween decorations to add to my Etsy shop. I've been kind of lazy about keeping my shop stocked lately and I was feeling guilty.

First up is a coffin shaped shrine/shadowbox featuring a little pumpkin headed witch swinging on a broom under a happy moon. The quote reads:
When witches go riding,
and black cats are seen,
the moon laughs and whispers,
'tis near Halloween.
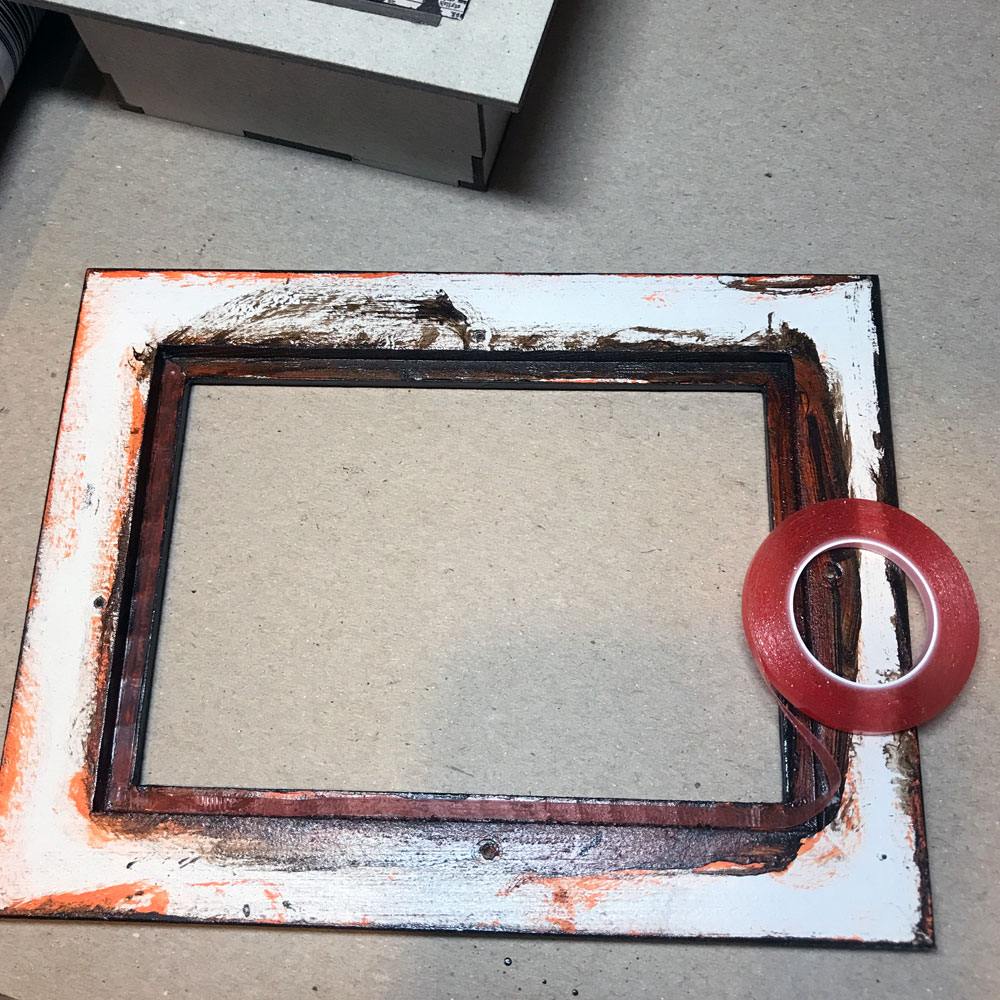
I used moss covered twigs, I found while hiking in the mountains, to make a tree. The moss had turned pale yellow as it dried out so I painted it bright green. The swing is a Miniature Rustic Broom tied to the tree with baker's twine. The sweet little witch is from my Little Demons Collage Sheet with a witch hat from my Halloween Dress Up Half Sheet
My supply list can be seen here.

Next up is an adorable potion bottle shaped wall hanging. I love how this came out and will find it hard to part with!
All of the cute pumpkin headed children I used came from my Halloween Darlings Collage Sheet.
I fell in love with that Wicker Baby Carriage and really couldn't wait to use it in a piece of art :)
 I used two sets of  Chipboard Potion Bottles to create the base. I simply glued the potion bottles side by side onto a piece of 12"x12" cardstock (after papering the fronts of the bottles).
 Twelve inches wasn't quite long enough so I had to add a small piece to the end. I used washi tape to hold it together until the final bottle was glued in place.
 After the glued dried, I cut the excess paper off with a sharp craft knife and sanded the edges smooth with an emery board. Super easy! I added two strips of Half-Round Dresden Borders - Black across the front of the bottles to give it added stability (and make it pretty!).
In order to add the Halloween Fiber Set hanging sash to my bottles I used my Crop-A-Dile to punch holes in the sides of the bottles then strung the fibers through the holes and knotted them.
My supply list for this project can be seen here.

Thanks for dropping by and reading my post. I hope you are inspired to go make something :)


Wednesday, May 24, 2017

spiderweb, a Halloween shadowbox...

 More Halloween art, today, with a small witchy diorama/shadowbox. Super easy to create using the Small Frame Shadowbox, mostly painting, cutting, pasting and a bit of sewing (to make a felt witches hat). The hat, or one like it, will be an upcoming kit at Alpha Stamps in mid July. So stay tuned to this blog or the Alpha Stamps blog for more information on that.
I am going to show you how to keep the glass in your shadowbox while making it open and close on command ;)
I like to have the glass there to keep the dust out and having the frame front removable, makes it reusable as a display box if you don't permanently glue the displayed pieces into the box.
To permanently affix the glass inside the frame, I ran a strip of Super Sticky Red Liner Tape all the way around the inside ledge of the frame (where the glass usually sits). Remove the red backing, clean the glass, then adhere to the red liner tape. Simple and effective!
For a removable frame, I started by lining the frame up so it was where I wanted it to be when finished. Then I flipped it over and marked the corners with a marking pen.
 Making "L" shaped marks around all of the corners (of the shadowbox backing) is important to the placement of the "Velcro" fasteners we will use to make it removable.
 You can use any brand or color of fasteners you have on hand. I used the one below and I got it at Target.
Cut a piece of each "side" of the fasteners about 1.5" long.
 Then cut those pieces into four equal pieces as shown below.
 Apply the four "fuzzy" pieces of fastener to the four corners of the shadowbox. Then apply the four pieces of the "pointy" fastener to the "L" shaped marks we made on the back of the frame.
 Line up the fasteners facing each other and press.
The shadowbox and frame should now be firmly affixed together but with the fasteners it can be gently removed and replaced again and again :)
I hope you enjoyed this quick post and it inspires you to make your own little Halloween shadowbox. If you would like to use any of the items I used, in my shadowbox, you can find my supply list here.